On the last post, we went over how to automate open source libraries releases using fastlane. Today we’ll look into a commodity rather than automation like releasing a library directly from a CI service. We’ll be using Bitrise as it supports fastlane projects out of the box.
Since we already removed all the manual steps required to make a release of a library with setting up fastlane, why would we want to support releasing from a CI service?
There are two main advantages of having the ability to release from CI:
-
Trigger a release from anywhere
Since the CI service will be doing all the work, we’re not longer tied to the terminal on a computer with fastlane installed. All we need is an internet connection. We can even trigger it with a Siri Shortcut. -
Handle versioning from commits
This will depend on your library in particular or group of people contributing to it. I’m currently working on a project that uses private pods and to avoid the hassle of who pushes a new release and when to push it, we automated this process by setting the next version on the PR and the CI releases on merge.
We’ll be going through the entire process of configuring your library on Bitrise from scratch using one of my open source libraries called ViewAnimator. I added two extra lanes to the Fastfile test and release_current we’ll be reviewing them in detail later, but you can take a look and set them up to be ready.

Get up to $2500 signing bonus applying as Software Developer
Adding a new App to Bitrise
You should log in to Bitrise with your GitHub account to add your library’s repo.
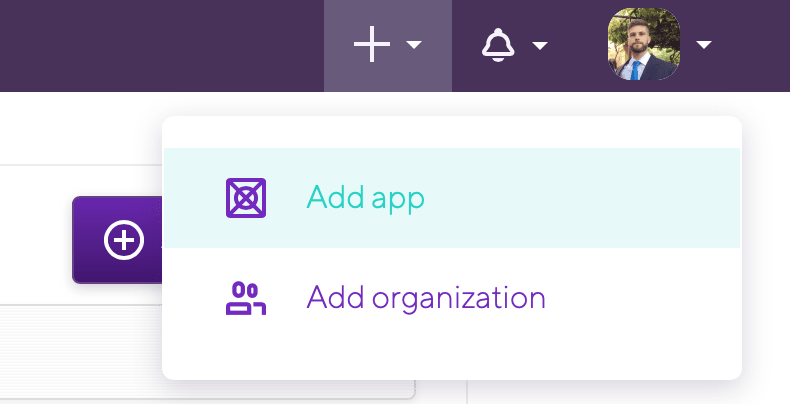
Click on the ‘+’ button from the top right corner and then on Add app option:
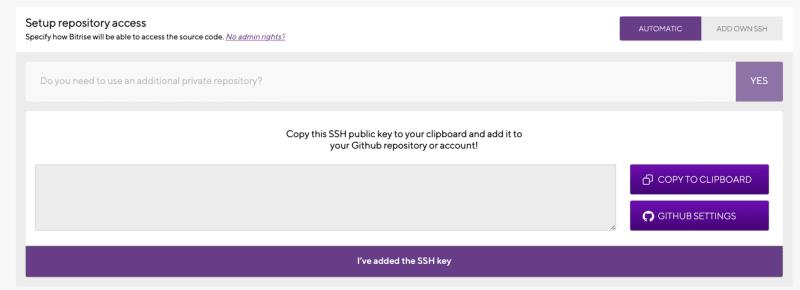
This will present the Bitrise new app configuration wizard. To enable write access we need to make the Bitrise app private, so we can pass in a read and write SSH key. I highly recommend you read more about this topic if you’re not familiar with it.
On the Setup repository access section we’ll choose ‘Automatic’ option plus ‘I need to’ option which will let us provide a read/write SSH key to push changes directly to our repo. Follow the ‘Manual setup’ from these steps to set the key up.
Keep filling the wizard with your specific set up needs. If the configuration is correct, Bitrise will go and trigger an initial build with the default configuration.
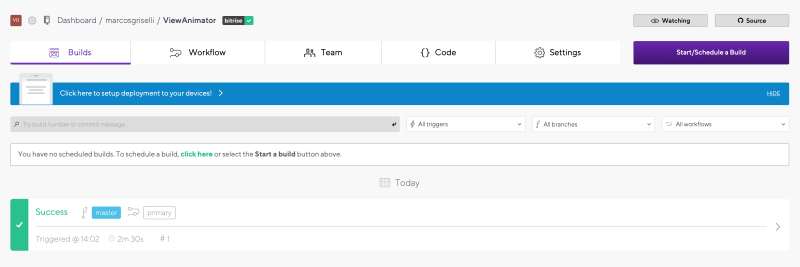
Navigate to your app’s dashboard and you’ll find this UI:
Setting up releases
To let Bitrise push our library release, we need to set up an access token for trunk. Tackling this action would require a few extra steps. Luckily, Kyle Fuller wrote a detailed post on how to do this and setup the automatic release with other CI services. So go ahead and generate the access token following the steps he described.
We’ll then add it as a secret variable to Bitrise. Under the Secrets tab add a new variable called COCOAPODS_TRUNK_TOKEN with the value being the token generated from Kyle’s post.

Managing Workflows
Heads up, if you don’t feel like creating all the workflows manually you can jump to the Bitrise.yml section and follow the steps there where everything will be created automatically.
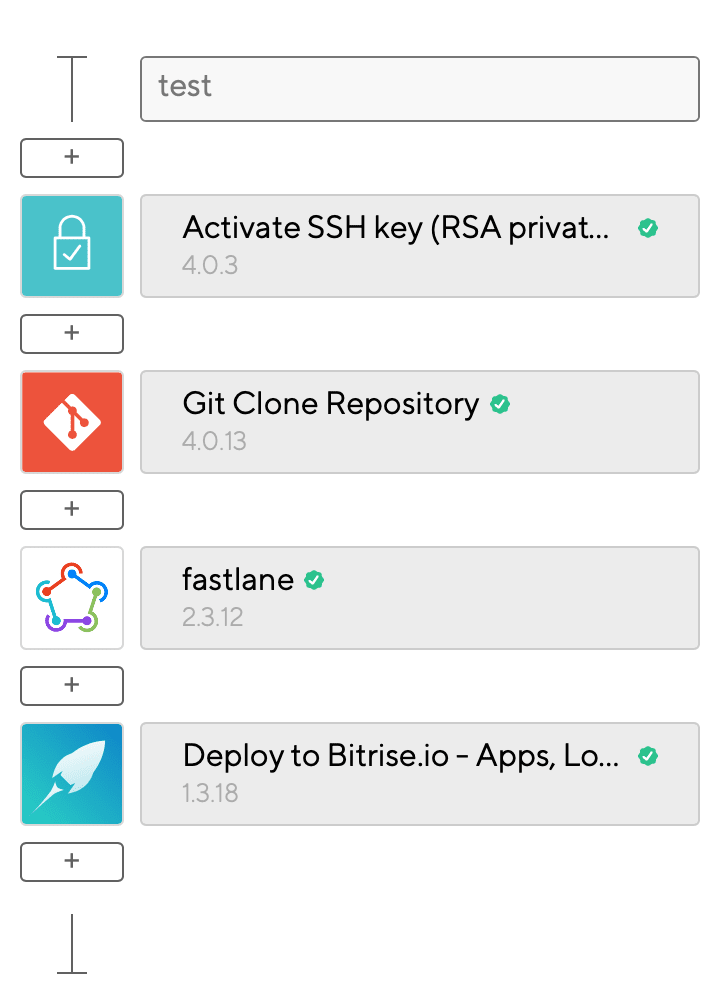
We’ll need to edit our workflow so open the Workflows tab. By default the first workflow is called primary, it will run whatever lane you defined on the configuration wizard. Since I set it up to run the test lane, I’ll rename it to test. Also, we can get rid of some actions since we won’t be needing them like Do anything with Script step and Certificate and profile installer. Here’s what my plain test workflow looks like:
I also changed the Triggers to run the test workflow when there’s a new pull request on the repo. This will run the test suite on each PR and notify on the PR if the tests passed or failed.
The final step is to create the workflows needed for our releases. Major, minor and patch. They will perform the same actions as in test but they will call their respective fastlane lane. We’ll create a new workflow by tapping the ‘+ Workflow’ button and create a new workflow called major based on test

After the new workflow is created all we need to do is edit the fastlane step with the desired lane we’ll run:
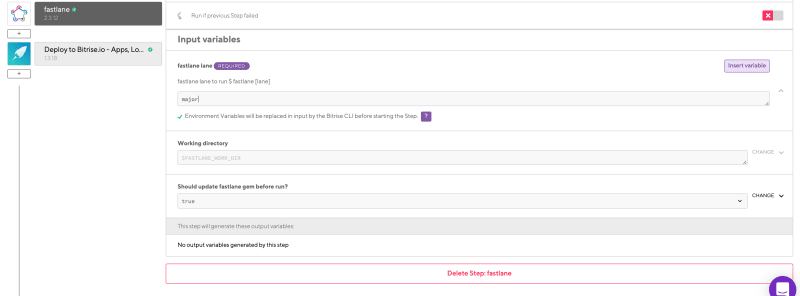
We can now manually trigger a Bitrise workflow that will launch our fastlane lane that lints the library, bumps the version, commit the changes and releases a new version to Cocoapods. You’ll see signed commits by Bitrise InfraBot. Here’s the release it made for ViewAnimator triggered from Bitrise: Release 2.2.2. Don’t forget to add the minor and patch workflows too.
Automatic version handling
If you don’t feel like triggering workflows manually for each new release you can create a new Workflow for the release_current lane:
lane :release_current do
   version = version_get_podspec(path: @podspec_name)
   if git_tag_exists(tag: version)
   UI.user_error!("The tag #{version} already exists on the repo. To release a new version of the library bump the version on #{@podspec_name}")
   end
   pod_lib_lint
   add_git_tag(tag: "#{version}")
   push_git_tags
   pod_push
end
This lane will grab the current version set up on the .podspec file and create a new release with that value. If you decide to take this approach for your library, you’ll need to add a new Trigger that calls the release_current workflow upon pushing to master

Remember that you’ll need to push the version change on the podspec file if you want this to work automatically.
Bitrise.yml
If you don’t feel like creating each of the workflows manually you can simply copy and paste the code found on this gist into the bitrise.yml tab and everything will be created automatically.